
Why Is My Brush Cutter Leaking Fuel From the Carburetor?
A brush cutter leaking fuel may have a loose cap, damaged hose, worn primer bulb, or carburetor overflow. Follow a safe inspection order before repair.
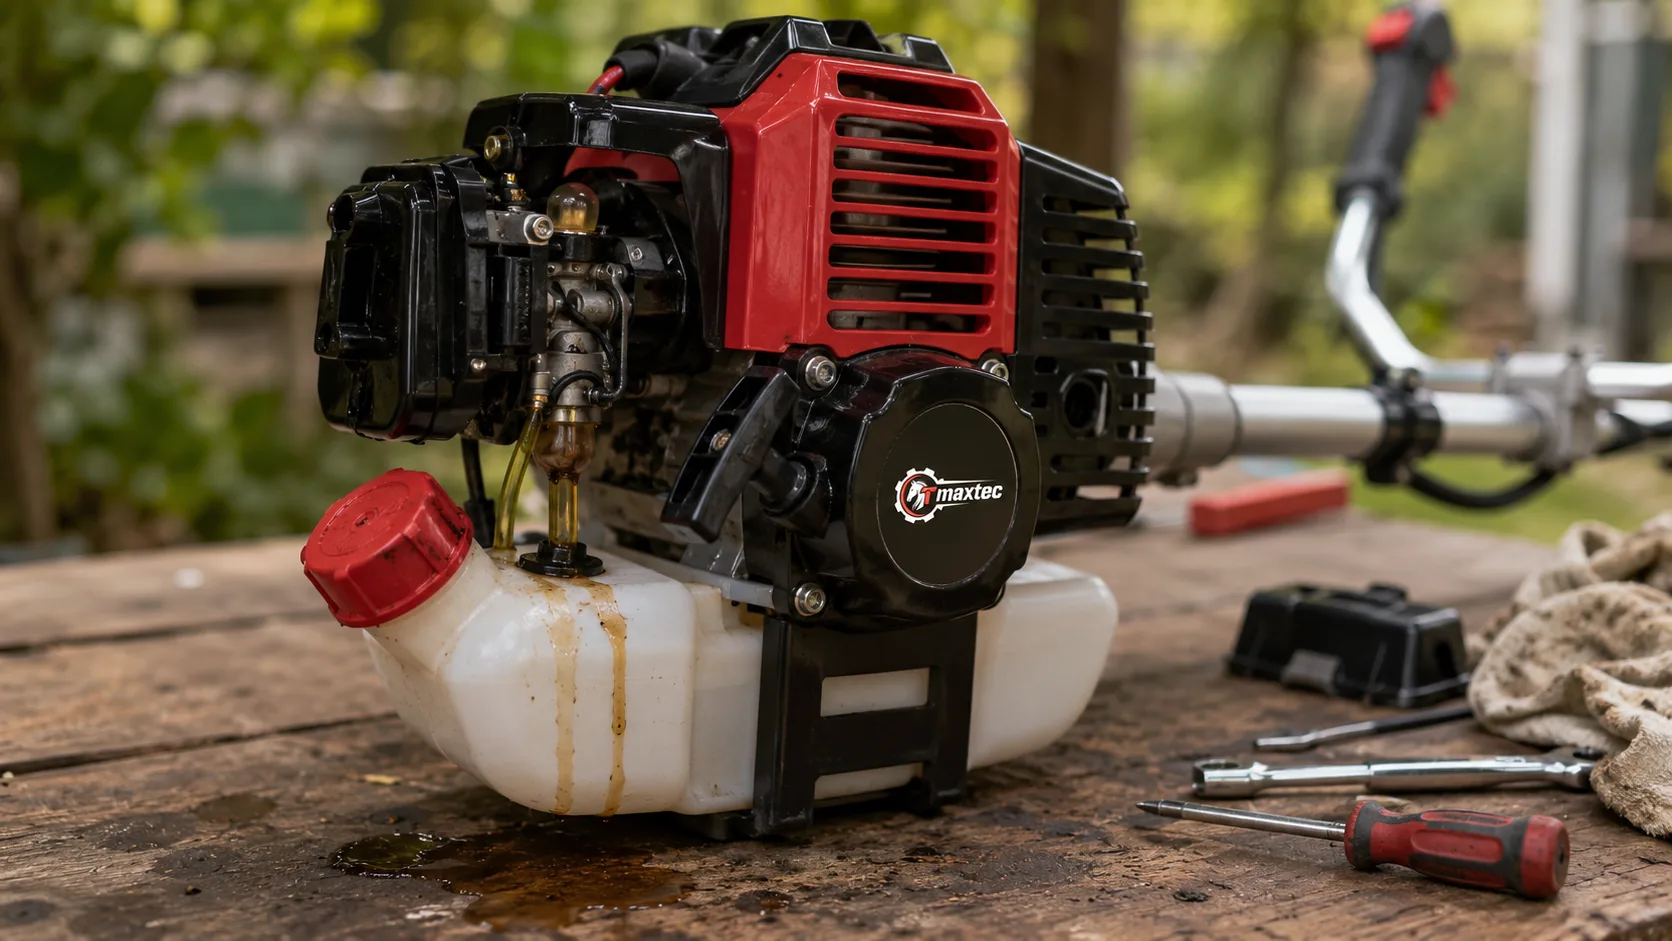
Fuel Leak Diagnostic Guide
Brush Cutter Leaking Fuel From the Carburetor: Causes and Checks
A brush cutter leaking fuel from around the carburetor does not automatically need a complete replacement carburetor. Gasoline may be running down from the fuel cap, tank outlet, fuel hose, tank grommet, primer bulb, or another connection above the carburetor. Fuel found inside the air-filter housing may also be caused by flooding rather than an external crack.
The first job is to identify the highest point that becomes wet. Replacing the wettest component without tracing the leak can waste parts, leave the original fault unresolved, and create additional fuel-system compatibility problems for dealers and repair shops.
01Find the Highest Wet Point Before Removing Parts
Fuel follows the shape of the engine housing and usually runs downward. A leak beginning at the tank, cap, hose, or primer system may therefore collect below the carburetor and create the impression that the carburetor body is leaking.
Place the brush cutter on a clean, level surface with the engine cold. Wipe the tank, cap, fuel pipes, primer area, carburetor, air-filter housing, and surrounding covers completely dry. Add only enough fuel for inspection instead of filling the tank to its maximum level.
| First Wet Area | Possible Source | Inspection Priority |
| Around the fuel cap | Loose cap, damaged seal, overfilled tank, vent problem | Check cap threading, seal surface, tank level, and storage position |
| Around the tank outlet | Hardened tank grommet or loose fuel pipe | Inspect where the pipes pass through the tank wall |
| Around the primer bulb | Cracked bulb, loose retaining plate, gasket problem, nearby hose leak | Press the bulb slowly and identify where fuel first appears |
| At a hose connection | Split hose end, incorrect diameter, loose fitting | Check the last few millimetres of hose around the fitting |
| Inside the air-filter housing | Carburetor flooding, over-priming, closed choke, internal metering fault | Separate operating error from internal carburetor overflow |
Do not begin by turning carburetor mixture screws. Carburetor adjustment will not repair a cracked hose, damaged primer bulb, leaking cap seal, loose fitting, or failed tank grommet.
02Check Tank Filling, Cap Sealing and Storage Position
A two-stroke brush cutter tank needs air space above the fuel. Filling the tank to the opening can allow gasoline to escape through the cap or vent as the fuel expands, particularly when the machine is placed on its side after refuelling.
Test the brush cutter in the same position in which the leak normally occurs. A machine may remain dry when standing upright but leak after transport, horizontal storage, wall hanging, or positioning with the engine lower than the fuel tank.
Cap inspection points
- Confirm that the cap starts squarely on the threads.
- Check the sealing surface for dirt, cuts, swelling, or deformation.
- Replace a cracked, missing, or damaged seal with the correct part.
- Do not use general-purpose sealant inside the fuel system.
- Do not block the tank vent in an attempt to stop leakage.
The tank vent must allow pressure to equalize as fuel is consumed. A blocked or incorrectly repaired vent may stop visible seepage temporarily but can later restrict fuel delivery and cause the engine to lose speed or stop under load.
03Inspect Fuel Hoses, Connections and the Tank Grommet
Brush cutter fuel hoses are exposed to gasoline, two-stroke oil, vibration, heat, storage conditions, and repeated movement. A pipe may become hard, soft, swollen, loose, or cracked even when the middle section still appears normal.
With the engine cold, bend each accessible hose gently and inspect the connection points closely. Damage often begins where the pipe is stretched over the carburetor or primer fitting. A split in the last few millimetres of hose may leak only when the machine is tilted or when the primer bulb is pressed.
Fuel Hose ProblemFuel becomes visible around a carburetor or primer fitting. The pipe may be split, incorrectly sized, stretched, hardened, or no longer gripping the connection securely. |
Tank Grommet ProblemFuel seeps around the point where the pipes pass through the tank. Replacing only the hose will not solve the leak when the grommet no longer seals against the tank opening. |
Replacement pipes must be fuel-resistant and match the required inside and outside diameters. A pipe that is too large may not seal on the fitting, while one that is too small can split during installation. Importers should confirm hose and grommet compatibility for the selected production configuration rather than assuming all 52 cc brush cutters use the same parts.
04Separate Primer-Bulb Leakage From Over-Priming
Where a primer bulb is fitted, inspect it for cloudiness, stiffness, surface cracks, poor seating, and fuel around the retaining plate. Press the bulb slowly and watch whether it returns normally.
Fuel at the edge of the bulb may indicate a cracked bulb, loose plate, displaced gasket, or damaged primer body. However, a leaking hose connected nearby can send fuel across the primer and create the same appearance. Trace the first wet point before ordering replacement parts.
After replacing primer components, reconnect the pipes to the correct ports. Incorrect hose routing may prevent normal circulation, push fuel in the wrong direction, or make the machine difficult to start.
05Determine Whether the Carburetor Is Flooding
If the cap, tank, grommet, hoses, and primer remain dry but fuel appears inside the air-filter housing or carburetor throat, the engine may be flooding internally.
Possible causes include dirt around the carburetor inlet needle, a worn needle tip, a damaged metering diaphragm, incorrect gasket order, or a metering lever that is no longer controlling fuel flow correctly. The exact arrangement depends on the carburetor fitted to the machine.
Check Operating Causes Before Opening the Carburetor
- Confirm that the choke was opened after the engine started.
- Check whether the primer bulb was pressed too many times.
- Consider whether the starting procedure was repeated after flooding.
- Check whether storage position allowed fuel to enter the carburetor.
- Consider whether old fuel deposits may be affecting the inlet components.
Remove the air-filter cover only after the engine has cooled. Absorb pooled fuel safely, inspect the filter, and allow vapours to clear before another starting attempt. Replace the filter if its material has been damaged or heavily saturated.
Do not continue pulling the starter while fuel is visibly leaking. Repeated starting attempts can draw additional fuel into the cylinder and may allow fuel to enter the muffler or air-filter housing.
06TM-CG520 Fuel Mixture and Storage Reference
An incorrect fuel mixture does not normally create an external leak by itself. However, unsuitable fuel, contaminated fuel, or extended storage may contribute to deposits, hardened diaphragms, swollen seals, and deteriorated pipes.
For longer storage, follow the correct draining procedure for the selected machine. Store the brush cutter upright in a ventilated location away from flames, heaters, switches, and equipment that may create sparks.
07When Carburetor Removal Is Justified
Carburetor removal should follow the external leak inspection rather than replace it. Internal service becomes reasonable when the fuel continues to enter the carburetor throat with the engine stopped and all external components remain dry.
| Carburetor Removal May Be Justified When | External Repair Should Come First When |
|