
Mini Tiller Won’t Dig Deep: Why It Bounces and How to Fix It
Mini tiller won’t dig deep or keeps bouncing? Learn how soil condition, tine direction, depth control, engine load, and setup affect cultivation.
|
FIELD GUIDE
|
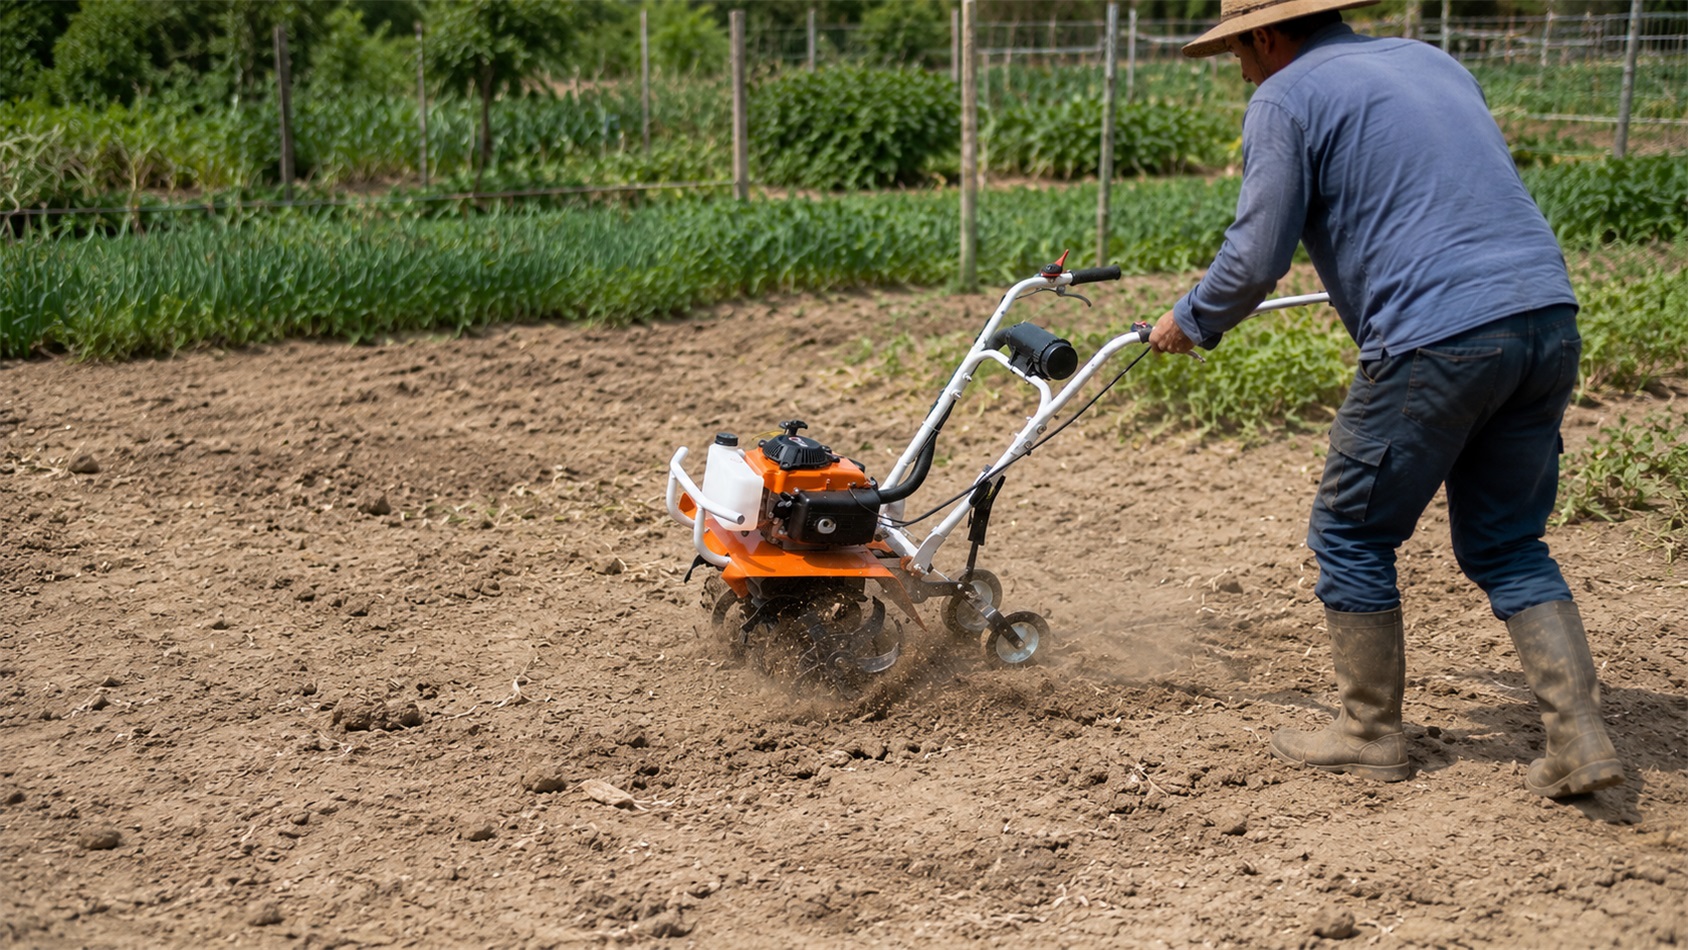
When a mini tiller will not dig deep and keeps bouncing across the ground, the problem is usually related to soil resistance, tine installation, depth-stake adjustment, insufficient working speed, wrapped vegetation, or unsuitable operating technique. A larger engine is not always the correct solution.
Importers, agricultural dealers, rental companies, and repair shops should first determine whether the complaint comes from machine setup, local soil conditions, operator expectations, or an actual mechanical fault. A machine that performs well in cultivated garden soil may struggle in dry, untouched ground if it is pushed too quickly or expected to reach full working depth in one pass.
| Quick answer: | A mini tiller normally bounces instead of digging when the soil is too hard for a single pass, the tines are reversed or worn, the depth stake is incorrectly positioned, the operator moves forward too quickly, or the engine loses speed under load. Start by clearing stones and vegetation, confirming tine direction, selecting a moderate depth-stake position, and making one shallow pass without forcing the machine downward. Dealers can reduce returns by testing the tiller in soil before delivery, supplying clear assembly diagrams, and matching the machine to local soil type and expected working depth. |
What the Bouncing Symptom Usually Means
A tiller that repeatedly jumps forward is usually meeting more resistance than the tine assembly can cut at the current depth and speed. Instead of entering the soil, the rotating tines strike the surface and push the machine upward or forward.
This does not immediately prove that the engine is underpowered. The same symptom can appear when the ground is extremely dry, the tine blades are fitted in the wrong direction, the depth stake allows the machine to travel too fast, or the operator applies too much forward pressure.
| SYMPTOM 1 | The machine moves forward too quickly. The depth stake may be too shallow, the operator may be pushing, or the soil may not be resisting the tines enough to keep them working in one area. |
| SYMPTOM 2 | The engine slows as soon as the tines touch soil. The machine may have a fuel, air-filter, carburetor, clutch, or transmission problem that only appears under load. |
| SYMPTOM 3 | The tiller leaves shallow scratches and uneven strips. The tine direction, left-right arrangement, wear condition, or blade balance may be incorrect. |
For dealer diagnosis, it is useful to observe the tiller from the side during a controlled test. Note whether the engine maintains speed, whether the machine pulls forward, and whether all tine groups enter the soil evenly.
Soil Conditions Buyers Often Underestimate
Dry, compacted soil is one of the most common reasons a mini tiller will not penetrate deeply. When the surface forms a hard layer, the tine edges repeatedly hit the ground without cutting enough material to pull themselves downward.
Trying to force the handles downward usually makes the tiller more difficult to control. It can increase vibration and transfer unnecessary shock into the tine shaft, gearbox, retaining pins, clutch, and engine mounts.
- Remove visible stones, branches, wire, and surface vegetation.
- Set the depth stake to a moderate position.
- Use the first pass only to break the hard surface.
- Repeat the pass after the top layer becomes loose.
- Increase working depth gradually rather than forcing full depth immediately.
- Inspect the tines if the machine continues to bounce in loosened soil.
Lightly moist soil is often easier to cultivate than completely dry ground. However, saturated clay can stick to the tine assembly, increase load, and leave large compacted clumps instead of a loose seedbed.
Before working a large field, test a small section. This helps determine whether the soil needs light moisture, surface breaking, weed removal, or a larger class of cultivation equipment.
Tine Direction, Wear and Assembly Checks
Incorrect tine installation can make a tiller move across the ground without cutting effectively. This often occurs after transportation, dealer assembly, cleaning, blade replacement, or repair.
Tines are shaped to enter, cut, lift, and release soil in a specific direction. Reversed or incorrectly arranged blades may cause bouncing, excessive pulling, uneven strips, poor penetration, or abnormal vibration.
| Inspection Point | Possible Problem | Dealer Action |
| Tine direction | Blades face the wrong cutting direction | Compare with the assembly diagram or a correct reference unit |
| Left and right groups | Tine sets installed on the wrong sides | Reinstall according to the marked shaft positions |
| Pins and clips | Loose, missing, or partly inserted hardware | Replace damaged hardware and secure every retaining point |
| Blade shape | Rounded edges, reduced length, cracks, or bending | Replace worn or damaged tines as a matched set where required |
| Clearance | Bent blades contact the guard, gearbox, or frame | Correct the assembly and inspect for impact damage |
| Replacement compatibility | Incorrect shaft or mounting pattern | Order parts by model and mounting specification |
Stop the engine and disconnect the spark plug before inspecting the tine assembly. Dealers should request clear assembly photographs, blade-direction diagrams, and exploded-parts references from the supplier.
Tines also lose digging performance as the cutting edges become rounded and the effective diameter decreases. A worn machine may still work in prepared garden soil but struggle in compacted areas. Mixing heavily worn and new blades can produce uneven cultivation and additional vibration.
Depth Stake and Operator Technique
The depth stake, drag bar, or resistance bar controls how quickly the tiller travels forward. By creating resistance behind the machine, it gives the rotating tines time to enter and loosen the soil.
A shallow setting allows easier forward movement, but the machine may pass over the surface before the tines can dig. An excessively deep setting can hold the tiller back so strongly that the engine slows or the tines repeatedly strike one compacted area.
|
Too Shallow
The tiller runs forward quickly and only scratches the top layer. Use more resistance after confirming that the soil surface is not excessively hard. |
Moderate Setting
Suitable for the first controlled pass. Allow the tines to break the surface before increasing depth or resistance. |
Too Deep
The tiller struggles to advance, engine speed drops, and the tines may bury themselves. Reduce the setting and cultivate in stages. |
A mini tiller should not be pushed like a wheeled lawn mower. The rotating tines need time to cut, lift, and loosen the ground. In hard areas, the operator can gently resist forward movement or use a slight back-and-forward motion rather than applying heavy downward pressure.
Rental companies and dealers should demonstrate this operating method. First-time users may interpret normal forward movement as a defect, especially when they expect the machine to reach maximum depth in a single pass.
Engine Speed, Clutch and Load Problems
The tines require sufficient rotational speed to enter and break the soil. A tiller may accelerate normally above the ground but lose digging ability as soon as the blades meet resistance.
Possible causes include old fuel, an incorrect fuel mixture, a dirty air filter, restricted fuel filter, blocked tank vent, carburetor contamination, damaged spark plug, restricted exhaust outlet, incorrect carburetor adjustment, or a slipping clutch.
Listen to the engine as the tines enter the soil. If engine speed drops sharply before the ground begins to break, stop and inspect the fuel, air, ignition, clutch, and transmission systems.
Do not compensate for poor engine performance by forcing the handles downward. This increases load without correcting the cause of the power loss.
When checking the TM-WG520B mini tiller for garden cultivation, dealers should test both free-running acceleration and actual performance under soil load. A warehouse start-up test alone may not reveal clutch slip, poor fuel delivery, or transmission resistance.
Vegetation wrapped around the tine shaft can create a similar symptom. Long grass, crop residue, vines, plastic cord, irrigation material, and wire may allow the engine to keep running while reducing tine speed and cultivation depth.
Which Mini Tiller Fits the Market?
Not every mini tiller is designed for the same soil condition, working depth, cultivation width, or daily workload. Compact machines can be suitable for vegetable gardens, orchards, greenhouses, narrow planting rows, and previously cultivated ground. They may be less suitable for breaking large areas of extremely hard, untouched soil in one pass.
| Model | Recommended Evaluation | Buying Focus | Dealer Advice |
| TM-WG520B | Garden cultivation and controlled soil preparation | Under-load response, tine configuration, local service parts | Test in realistic soil before delivery |
| TM-WG144F | Evaluate according to soil type, working area, transport needs, and operator ability | Complete specification rather than engine type alone | Position the machine according to realistic application limits |
| TM-WG630 | Farm soil preparation and applications requiring stronger penetration | Working width, working depth, soil condition, accessories | Confirm actual specifications before bulk ordering |
| TM-WG520B Garden Tiller |
A practical reference for buyers who need a mini tiller for garden cultivation. Dealers should verify acceleration, clutch engagement, tine assembly, and digging performance under real soil load.
|
|
TM-WG144F Gasoline Mini Tiller
This model should be evaluated according to local soil type, expected depth, transport requirements, cultivation area, and operator experience. Published working depth should not be treated as a guaranteed one-pass result in every field.
|
TM-WG630 Mini Tiller
Buyers may compare this model for farm soil preparation and applications requiring stronger penetration. Working width, depth, tine arrangement, spare parts, and soil suitability should be confirmed before ordering.
|
Importer and Dealer Checklist
Many shallow-digging complaints begin with incorrect assembly, unrealistic market positioning, or insufficient pre-delivery testing. Importers should review both the machine specification and the local conditions in which the tiller will be sold.
| Before Ordering | Before Delivery |
|
|
Practical Test for a Mini Tiller That Keeps Bouncing
01. Check whether the soil is excessively dry, wet, or compacted.
02. Remove stones, thick roots, wire, and surface vegetation.
03. Confirm tine direction, left-right arrangement, pins, and clips.
04. Inspect the tines for rounded edges, bending, cracks, and uneven wear.
05. Set the depth stake to a moderate starting position.
06. Confirm that the engine accelerates cleanly before contacting soil.
07. Remove material wrapped around the tine shaft and gearbox area.
08. Make one shallow pass without pushing or forcing the machine downward.
09. Loosen the ground gradually with additional passes.
10. Adjust the depth stake only after the first hard layer has been broken.
Frequently Asked Questions
Why does my mini tiller bounce instead of digging?
The soil may be too hard, the tines may be reversed or worn, the depth stake may be incorrectly set, or the operator may be moving too quickly. Engine speed loss and material wrapped around the tines can also cause bouncing.
Should a mini tiller reach maximum depth in one pass?
Not in every soil condition. Hard or previously uncultivated ground usually requires several shallow passes. Published working depth depends on soil moisture, compaction, roots, stones, tine condition, and operating technique.
How can I tell whether the tines are installed incorrectly?
Incorrect tines may make the machine pull forward, leave uneven strips, vibrate, or scratch the surface without entering the soil. Compare the direction and left-right arrangement with the assembly instructions or a correctly assembled reference unit.
How can dealers reduce complaints about shallow digging?
Dealers should check tine assembly, depth-stake installation, throttle response, clutch engagement, and gearbox operation. A short soil test and a practical operating demonstration can prevent many complaints that would otherwise be treated as engine defects.
What spare parts should mini tiller importers stock?
Useful stock may include matched tine sets, retaining pins, clips, air filters, fuel lines, spark plugs, starter parts, control cables, clutch parts, and model-specific gearbox components. Parts should be identified by model and mounting specification.
Is a mini tiller suitable for hard, untouched farmland?
It depends on the model, soil hardness, stones, roots, required area, and expected depth. Compact tillers are often better suited to gardens, orchards, greenhouses, narrow rows, and previously cultivated soil. Extremely hard ground may require surface preparation or a larger machine.
| Compare Mini Tiller Models Before a Bulk Order
A mini tiller that will not dig deeply is not always underpowered. Soil preparation, tine direction, depth-stake setting, engine performance, working method, and spare-parts support all affect the final result. Compare the selected model with local soil conditions and dealer service capability before confirming wholesale quantities. |
|