
Why Does a Mini Tiller Pull to One Side During Tilling?
Find why a mini tiller pulls to one side by checking tine installation, wrapped weeds, soil resistance, handle pressure, and loose or bent parts.
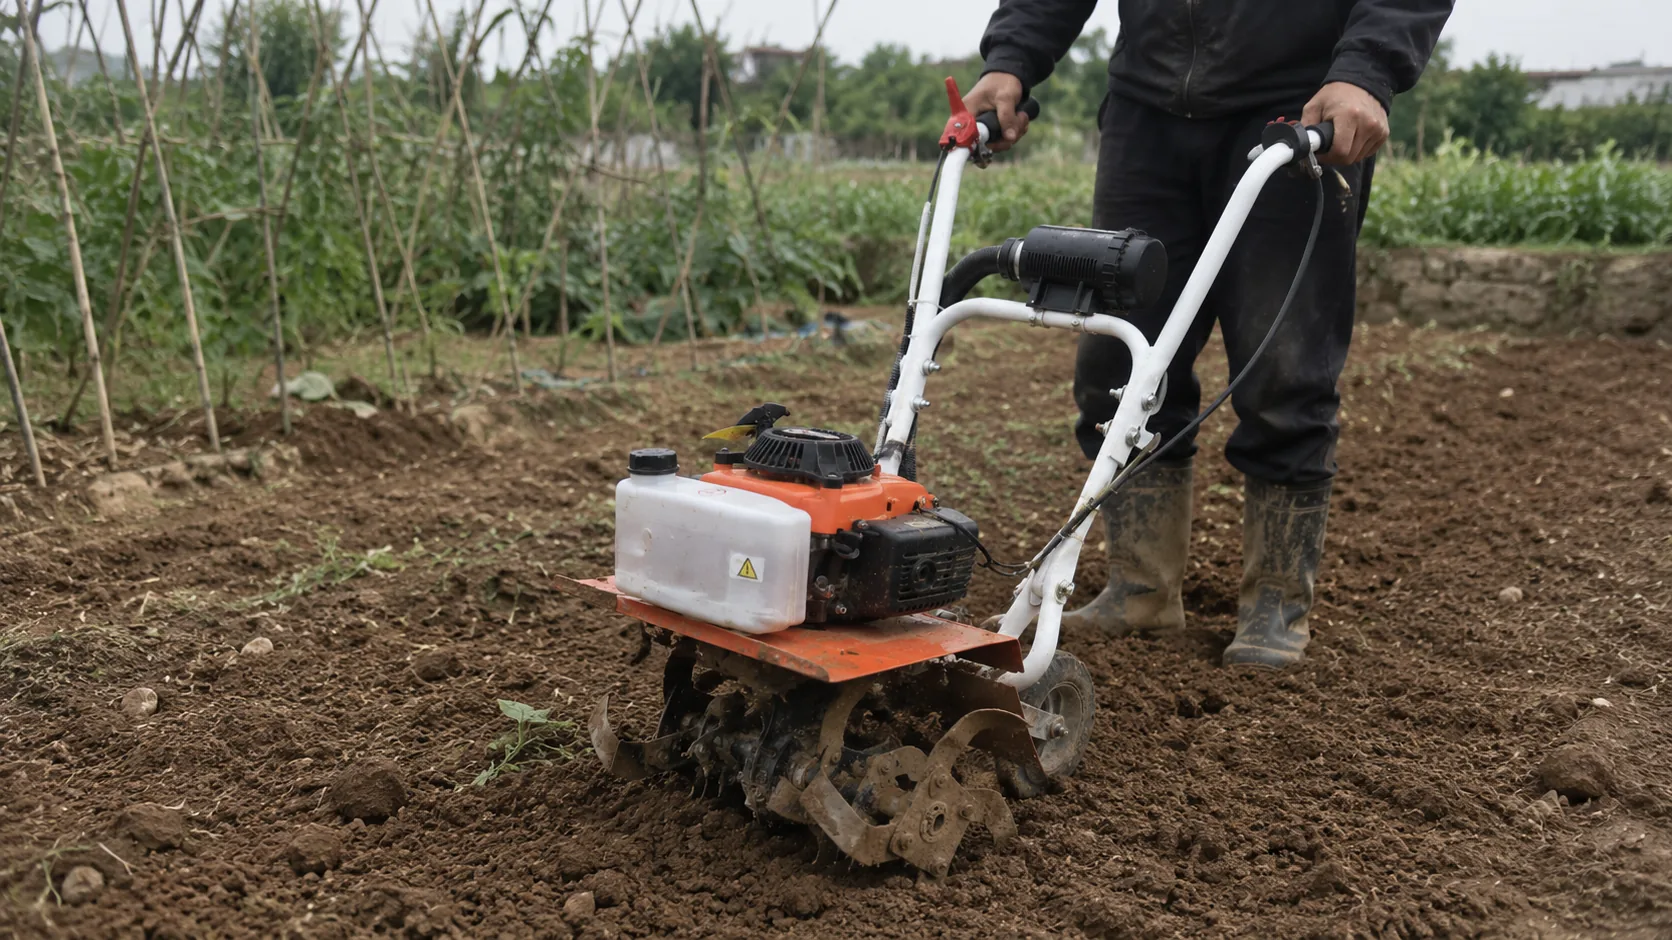
Mini Tiller Pulls to One Side: Causes, Checks and Dealer Troubleshooting
A mini tiller usually pulls to one side because the left and right tine groups are not meeting equal resistance. One reversed tine section, wrapped roots, a bent blade, uneven shaft spacing or different soil conditions across the working width can make the machine drift even though the engine continues running normally.
This troubleshooting guide focuses on a tiller that enters the soil and keeps rotating but requires constant sideways handle pressure to travel straight. It does not cover a machine that only bounces on hard ground, fails to reach working depth or stops when the tines are loaded.
1. Confirm the Symptom Before Disassembling the Tiller
Directional pulling has a specific symptom boundary. The tines continue rotating, the machine still cultivates and the engine may hold a steady speed, but the operator must twist or push the handle sideways to stay on the intended line.
How the drift develops provides an early clue. A tiller that pulls from the moment it enters the soil may have an assembly or blade-balance problem. A machine that begins straight and gradually moves sideways after several metres may have grass, vines, crop residue or plastic film collecting around one shaft.
| Observed Behaviour | More Likely Area | First Check |
| Pulls immediately in most soil | Tine orientation or unequal assembly | Compare blade curves, hubs and side positions |
| Starts straight, then drifts | Material wrapping around one shaft | Inspect the inner tines and gearbox area |
| Pulls only in one section of a field | Uneven soil, roots, stones or slope | Repeat the test on uniform ground |
| Pull suddenly becomes stronger | Impact damage or loose retaining hardware | Stop immediately and inspect both tine groups |
2. Compare the Left and Right Tine Assemblies
Switch off the engine, wait for all moving parts to stop and disconnect the spark-plug cap. Support the machine securely before touching the tine assembly. Stand in front of the machine and compare both sides rather than inspecting only the side toward which it pulls.
The two tine groups should have balanced spacing, matching blade counts and the correct installation sequence. Check for:
- A tine section installed backward.
- A left-side section fitted on the right side.
- Different numbers of blades on the two sides.
- A missing retaining pin, blade or spacer.
- One tine group mounted farther outward.
- Loose hardware that allows a group to move.
- Different cutting-edge angles caused by wear or damage.
A tiller may continue cultivating with one section incorrectly installed, but the cutting forces will no longer be balanced. Do not judge orientation only by the general appearance of the curved blades. Compare the cutting edges, blade curves, hub positions and retaining hardware with the assembly diagram or markings supplied for the machine.
3. Remove Wrapped Weeds and Inspect Every Blade
Long grass, fibrous roots, vines and plastic film can wrap tightly around the tine shaft. When more material accumulates on one side, it reduces the effective cutting width and creates extra drag. This is especially common in fields with creeping weeds or crop residue.
Clear These Locations
|
Inspect for Impact Damage
|
Remove wrapped material only after the engine has stopped. Wear gloves because the cutting edges may remain sharp beneath the soil and debris. Do not restart the machine while loosened roots are still hanging from the shaft; they can tighten again immediately.
Clean each blade before judging its shape. A tine bent by a buried stone, concrete edge, thick root or scrap metal may enter the soil earlier and deeper than its opposite blade. Do not straighten and reuse a cracked tine. Replacement parts should match the tine pattern, mounting diameter and correct side position, not merely fit over the shaft.
4. Check Shaft Play and Retaining Hardware
Hold the stopped tine assembly and check for abnormal side-to-side movement. The permitted movement depends on the shaft and retaining design, but obvious looseness, knocking or a different distance from the gearbox on each side should be investigated before operation continues.
- Retaining pins and clips: Confirm they are fully engaged and not worn through.
- Washers and spacers: Compare both sides and confirm the correct sequence.
- Tine hubs: Look for enlarged holes, cracks or independent movement.
- External fasteners: Check visible shaft and gearbox mounting bolts.
- Side position: Confirm that neither group can slide outward under load.
Do not install random washers simply to remove movement. Incorrect spacer thickness can move a tine too close to the gearbox, restrict normal shaft movement or prevent the retaining holes from aligning correctly. Use hardware matched to the actual tine configuration.
5. Separate Mechanical Pulling From Soil Conditions
A correctly assembled mini tiller can still drift when one side works in loose soil and the other side meets compacted ground. Test the machine on a short, reasonably uniform strip rather than along the border between a cultivated bed and an untouched path.
Environmental causes can include:
- A vehicle track compacted more heavily on one side.
- Tree roots crossing part of the working path.
- Wet clay beside drier, looser soil.
- Buried stones or construction debris.
- A slope running across the travel direction.
- Previously tilled soil beside unbroken ground.
On a side slope, gravity and unequal tine penetration can make a lightweight tiller move downhill. Change the pass direction or use a safer working line where operating instructions and ground conditions permit. Do not assume a machine fault when the pull occurs only in one small section of the field.
6. Correct Handle Pressure Before Changing Engine Settings
Operators sometimes respond to drift by twisting the handle or pushing one side deeper. This can increase the difference in tine penetration and make the mini tiller pull more strongly.
Keep your body centred behind the machine, hold the handle firmly and make small directional corrections. For hard or previously uncultivated soil, begin with a shallow pass. Trying to reach maximum depth immediately can cause one tine group to follow the path of least resistance.
A weak engine can reduce cultivation performance, but it does not normally create a consistent pull toward the same side when both tine groups share one drive shaft. Investigate fuel supply or engine condition separately when the machine also loses speed, surges, stops under normal load, produces abnormal smoke or cannot maintain consistent tine rotation.
Do not adjust the carburetor merely because the tiller moves sideways while the engine speed remains stable.
7. Stop Operation When the Pull Changes Suddenly
Gradual drift on uneven soil may be corrected through a change in technique or by clearing the tines. A sudden strong pull during a previously straight pass requires immediate inspection.
- A metallic impact or new vibration.
- One tine group moving outward.
- A missing retaining pin or clip.
- A cracked, twisted or badly bent blade.
- Grinding from the gearbox area.
- The handle twisting sharply without a soil change.
Continuing after a blade impact can enlarge shaft holes, damage mounting parts or allow a tine section to detach. Repair or replace damaged parts before performing another soil test.
8. Importer and Dealer Pre-Delivery Checklist
Directional-control complaints can often be prevented before delivery. Dealers should inspect the tine assembly after unpacking rather than assuming that all sections, pins and spacers remained correctly positioned during transport.
| Machine Preparation | Bulk Order and After-Sales |
|
|
Tine dimensions and mounting parts should be selected according to the confirmed machine configuration. Working width or engine displacement alone is not sufficient to identify the correct replacement blade, spacer or retaining hardware.
Frequently Asked Questions
Why does my mini tiller pull to one side as soon as the tines enter the soil?
Begin with tine orientation, blade count, side spacing and retaining hardware. Immediate and repeatable pulling is more consistent with unequal tine assembly or blade condition than with material gradually wrapping around the shaft.
Can wrapped grass make a mini tiller drift?
Yes. Grass, vines and fibrous roots can build up more heavily on one shaft, changing the effective cutting width and increasing drag. This is especially likely when the machine begins straight and pulls more strongly as work continues.
Should I adjust the carburetor when the tiller does not travel straight?
Not when the engine maintains steady speed and both tine groups continue rotating. Carburetor adjustment does not correct reversed blades, uneven tine resistance, bent sections, wrapped material or incorrect handle pressure.
Can a lightweight mini tiller pull more on uneven ground?
Yes. A compact machine can react quickly when one side enters loose soil and the other meets compacted ground, roots or stones. Test on a uniform strip and use a shallow first pass before deciding that the assembly is faulty.
Which spare parts should dealers prepare for directional-pull complaints?
Useful items include configuration-matched left and right tine sections, retaining pins, clips, washers and applicable shaft hardware. The exact parts should be confirmed from the tine pattern, mounting dimensions and final machine configuration.
When should a mini tiller that pulls sideways be taken out of service?
Stop using it when the pull becomes sudden or is accompanied by impact noise, vibration, a moving tine group, a missing pin, a cracked blade or gearbox grinding. These signs require inspection before further operation.
TM-WG144F Mini Tiller for Compact Cultivation WorkThe TM-WG144F is listed with a 30 cm working width, a reference working depth of 10–15 cm and a net weight of 16 kg. Its 63 cc air-cooled 2-stroke engine has a listed rated output of 2.5 kW and uses a specified 1:30 mixed-fuel ratio. This narrow, lightweight configuration is relevant to gardens, orchards and small cultivation areas. Actual penetration depends on soil hardness, moisture, tine condition and operating technique, so the listed depth should be treated as a reference rather than a requirement for every pass. Importers should confirm the final engine, tine, accessory and packing configuration before a bulk order. |
|