
Why Does a Gasoline Chainsaw Leak Bar Oil During Storage?
A chainsaw leaking bar oil while stored may have trapped oil, an overfilled tank, a loose cap or an oil-line problem. Check the leak source in order.
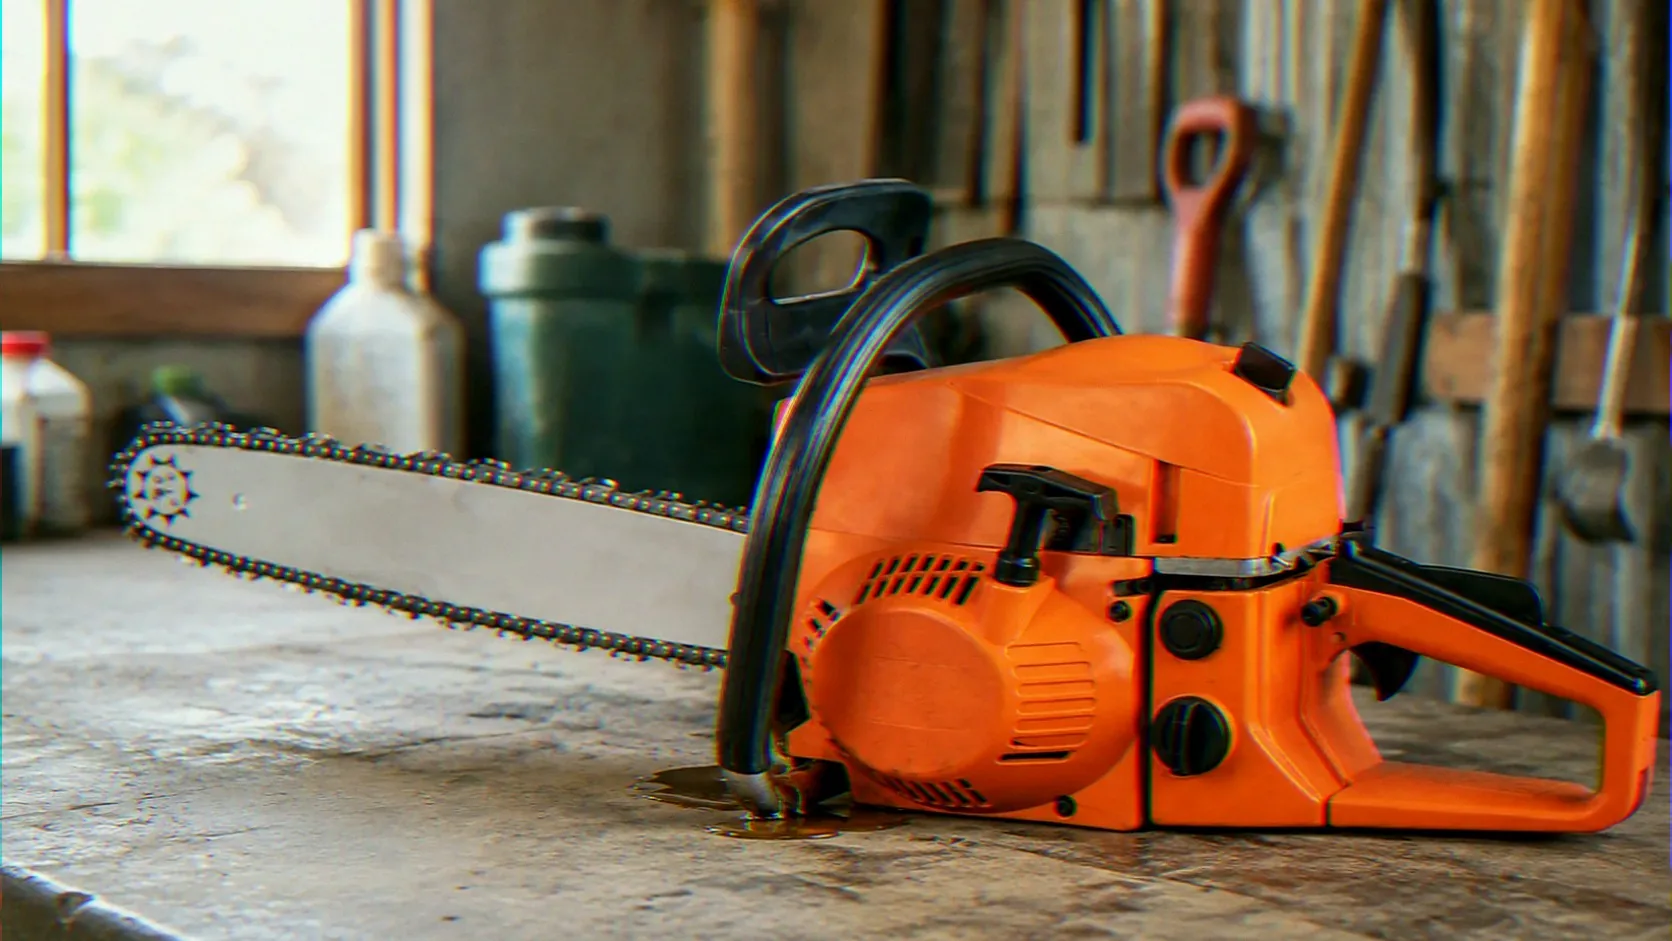
Storage Leak Inspection Guide
Gasoline Chainsaw Leaking Bar Oil While Stored: Causes and Dealer Checks
A gasoline chainsaw leaking bar oil while stored does not automatically have a damaged oil pump. Lubricant can remain trapped behind the clutch cover, around the guide-bar mounting surface and inside the oil-delivery passage after cutting. This residual oil may continue dripping after the engine has stopped.
A small, temporary oil mark may be normal. A growing puddle, a noticeable fall in the oil-tank level or oil reaching the clutch and brake area requires a more detailed inspection. This guide covers a chainsaw that still operates and lubricates the chain normally. It does not cover a dry chain, an overheating guide bar, repeated chain loosening or a chain that stops under load.
Quick answer: First identify whether the liquid is chain oil or fuel, then clean the clutch-cover area and place the saw on clean absorbent paper. Compare the new oil mark with the actual oil-tank level over several hours. Residual lubricant, an overfilled tank, sawdust under the cap seal, storage orientation and temperature changes should be checked before removing the clutch or replacing the oil pump. Dealers should also verify guide-bar oil-hole alignment, cap compatibility and oil-line condition before packing or supplying replacement parts.
1. Confirm What Is Leaking Before Opening the Saw
Do not assume every puddle beneath a chainsaw comes from the chain-lubrication system. Fuel, mixed fuel and bar oil require different inspections and present different safety risks.
Bar and chain oil is normally thicker and more adhesive than fuel. It often appears around the guide-bar mounting area, clutch cover, bottom of the oil tank or filler cap. Fuel is thinner, evaporates more quickly and usually has a stronger gasoline smell.
Likely Bar Oil
|
Possible Fuel Leak
|
2. Clean the Saw and Trace the First Fresh Oil Mark
Oil mixed with sawdust can travel across the lower housing and make the original leak point difficult to identify. A puddle directly beneath the oil tank does not necessarily mean that the tank is cracked.
Remove the clutch cover and clean the areas where oil and sawdust commonly collect. Avoid forcing compressed air or cleaning liquid into seals, bearings or the carburetor area.
| 1 | Clean behind the clutch cover. Remove compacted sawdust and oily residue around the sprocket and bar-mounting surface. |
| 2 | Clean the oil-delivery area. Wipe the machine outlet, guide-bar oil hole and guide-bar groove. |
| 3 | Clean the filler area. Remove sawdust from the oil cap, seal, threads and tank opening. |
| 4 | Dry the outer housing. Old oil should not remain where it can create another misleading stain. |
| 5 | Place the saw on clean cardboard. The location of the first fresh mark is more useful than an old workshop-floor puddle. |
3. Decide Whether It Is Residual Oil or a Continuous Leak
The automatic lubrication system supplies oil while the chain is moving. During cutting, some lubricant combines with fine sawdust behind the clutch cover and around the guide-bar mounting surface. After shutdown, the warm oil can slowly drain from the bottom of the cover.
This delayed dripping may continue for several hours even when the tank, oil hose and pump are undamaged. It is especially noticeable after cutting resinous wood or when the clutch-cover area has not been cleaned for several working sessions.
Because a small amount of oil can spread widely across cardboard or concrete, compare the puddle with the tank level rather than judging only by stain size. Mark the oil level, leave the cleaned saw in one stable storage position and inspect it again after several hours and the following day.
| Observation | Most Likely Interpretation | Next Action |
| Oil appears only after cutting and stops after cleaning. | Residual lubricant behind the clutch cover. | Clean the area regularly and continue monitoring the tank level. |
| Fresh oil forms around the filler opening. | Cap, seal, threads or tank-neck contamination. | Inspect the cap assembly and clean the sealing surfaces. |
| Oil appears below the bar mount while the tank level falls. | Outlet, hose, connection or pump-area leak. | Complete external checks before internal disassembly. |
| The oil level remains almost unchanged. | The visible stain may contain only a small amount of residual oil. | Clean, retest and avoid replacing parts without further evidence. |
4. Inspect the Oil Cap, Fill Level and Storage Conditions
An oil tank should not be filled completely to the neck. The lubricant needs space inside the tank, especially when the saw is transported, laid on its side or moved into a warmer environment. Oil reaching the cap, vent or surrounding threads can escape even when the tank housing is intact.
Before Storage
|
During Leak Diagnosis
|
Do not overtighten a plastic cap to compensate for a poor seal or damaged thread. Excess force may make the cap difficult to remove and can further damage the sealing surfaces. Replacement caps should be matched to the actual model because similar-looking caps may use different threads, vents or sealing depths.
Storage orientation also affects where oil moves under gravity. A saw resting with the cap, outlet or hose connection facing downward may leak more readily. This does not mean orientation should be used to hide an active fault. A sound lubrication system should not rapidly empty while the machine is parked.
Temperature changes can make a weak seal more obvious. Oil becomes thinner as it warms, and pressure inside the tank may change when a chainsaw moves from a cool storage room into a hot vehicle or direct sunlight. Do not block the tank vent in an attempt to stop leakage. A suspected vent problem should be checked according to the machine design.
5. Check the Guide-Bar Oil Outlet and Component Match
Oil beneath the clutch cover may be leaving through the normal delivery port rather than a cracked tank. Warm lubricant can continue moving through the outlet after shutdown, particularly when oil remains inside the passage.
Remove the guide bar and clean the oil hole, bar groove and mounting surface. When the bar is reinstalled, confirm that its oil hole aligns with the machine outlet. An incorrectly matched or poorly positioned guide bar may leave part of the port exposed, allowing oil to collect behind the cover instead of entering the guide-bar groove.
Bar length alone is not enough to confirm replacement compatibility. The guide bar, chain and drive system must also match the required pitch, gauge and drive-link count for the selected configuration.
Do Not Blame the Oil Pump Too Early
The pump outlet is designed to contain oil. Visible lubricant near the guide-bar mount does not prove that the pump body has failed. Oil from a hose, connector, exposed outlet or contaminated mounting surface can spread across the same area.
6. Inspect Oil Lines and Internal Connections Only When Necessary
Internal inspection becomes reasonable when the cap remains dry, the tank is not overfilled, the storage position is stable and the cleaned outlet continues leaking while the oil level falls.
Depending on the chainsaw construction, the lubrication system may include a tank filter, hose, connector, pump and outlet passage. Check for hardened or split tubing, loose hose connections, oil around the pump mounting area, damage caused during earlier disassembly and cracks near the oil tank or lower housing.
Access to these parts may require removal of the clutch or other rotating components. This work should be completed by a trained technician using the correct tools and model-specific service information.
- The oil tank empties rapidly during storage.
- Oil reaches the clutch or chain-brake components.
- The oil tank or lower housing is cracked.
- The leak source remains unidentified after cleaning.
- The chain is not receiving enough lubrication during operation.
7. TM-CS5200 Lubrication and Bar Configuration Reference
8. Importer and Dealer Pre-Delivery Checklist
A storage oil leak can stain cartons, damage labels and create a customer complaint before the chainsaw is first used. Pre-delivery checks should cover both the lubrication system and the selected cutting configuration.
|
Before Packing
|
For Delivery and After-Sales
|
9. Frequently Asked Questions
Q1. Is it normal for a chainsaw to drip bar oil after use?
A small amount can be normal when oil and sawdust remain behind the clutch cover or around the guide-bar outlet. The dripping should reduce after cleaning, and the oil-tank level should remain nearly stable.
Q2. How can I tell whether the oil tank is actually leaking?
Clean the saw, mark the oil level and place the machine on absorbent paper in one stable position. If the tank level continues to fall and fresh oil appears away from the normal outlet, inspect the cap, tank, oil hose and connections.
Q3. Can overfilling cause a chainsaw to leak bar oil in storage?
Yes. Oil filled to the neck can reach the cap, vent or threads when the saw is tilted or the storage temperature rises. Follow the specified fill procedure and leave the required space inside the tank.
Q4. Does oil beneath the clutch cover mean the oil pump has failed?
Not necessarily. Oil normally passes through the delivery port near the guide-bar mount. Residual oil, an exposed port, a mismatched bar or a leaking hose connection can all leave oil in the same area.
Q5. Can a replacement guide bar cause storage oil leakage?
A poorly matched or incorrectly positioned guide bar may leave part of the oil-delivery port exposed. Confirm oil-hole alignment and the required pitch, gauge and drive-link count instead of selecting a bar by length alone.
Q6. Which parts should dealers stock for chainsaw oil-leak complaints?
Depending on the confirmed model, relevant parts may include oil caps, seals, oil hoses, tank filters and pumps. Compatibility should be checked by model and configuration rather than by engine displacement alone.
Find the Leak Source Before Replacing PartsBegin with the liquid type, clutch-cover cleaning, tank-level comparison, cap condition and storage position. For wholesale or dealer orders, confirm the guide-bar option, chain specification, oil-system parts and packing method with the actual TM-CS5200 configuration. |
|